
Fence lighting
-
in-lite | ACE DOWN Corten | Wall lights
Regular price €173,56Regular price -
in-lite | ACE DOWN Dark | Wall lights
Regular price €165,62Regular price -
in-lite | ACE DOWN Flat Grey | Wall lights
Regular price €164,63Regular price -
in-lite | ACE DOWN Rose Silver | Wall lights
Regular price €165,62Regular price -
in-lite | ACE DOWN White | Wall lights
Regular price €165,62Regular price -
in-lite | ACE UP-DOWN Corten | Wall lights
Regular price €218,18Regular price -
in-lite | ACE UP-DOWN Dark | Wall lights
Regular price €207,28Regular price -
in-lite | ACE UP-DOWN Flat Grey | Wall lights
Regular price €208,26Regular price -
in-lite | ACE UP-DOWN Rose Silver | Wall lights
Regular price €207,28Regular price -
in-lite | ACE UP-DOWN White | Wall lights
Regular price €207,28Regular price -
in-lite | BIG CUBID Dark | Wall lights
Regular price €118,02Regular price -
in-lite | BIG CUBID Rose Silver | Wall lights
Regular price €118,02Regular price -
in-lite | BIG CUBID White | Wall lights
Regular price €118,02Regular price -
in-lite | BLINK Dark | Wall lights
Regular price €89,26Regular price -
in-lite | BLINK Rose Silver | Wall lights
Regular price €89,26Regular price -
in-lite | BLINK White | Wall lights
Regular price €89,26Regular price -
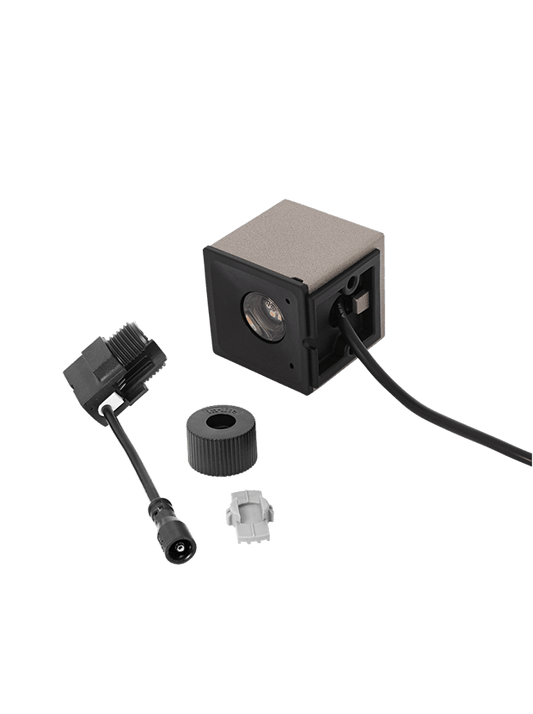
in-lite | CUBID Dark | Wall lights
Regular price €64,46Regular price -
in-lite | CUBID Rose Silver | Wall lights
Regular price €64,46Regular price -
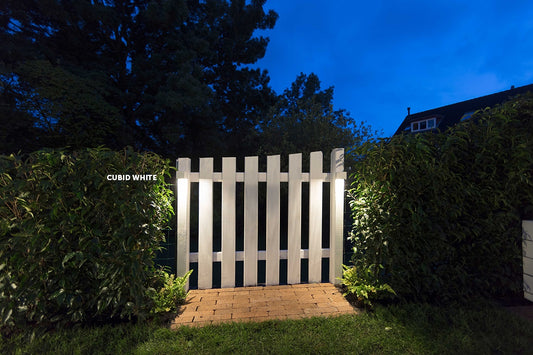
in-lite | CUBID White | Wall lights
Regular price €64,46Regular price -
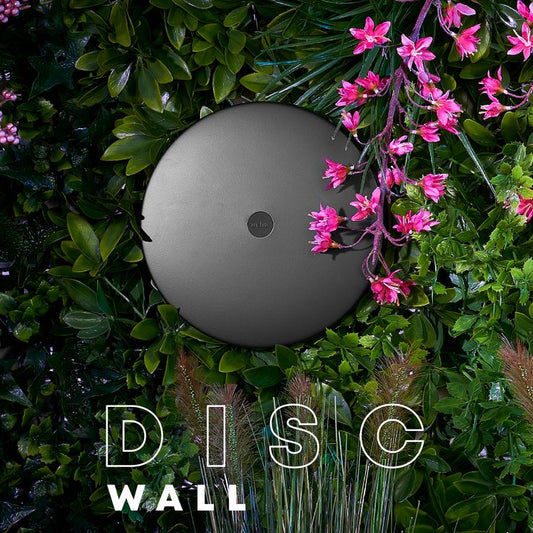
in-lite | DISC WALL | Wall lights
Regular price €204,79Regular price -
in-lite | EVO DOWN Dark | Wall lights
Regular price €233,05Regular price -
in-lite | HALO DOWN Dark | Wall lights
Regular price €185,46Regular price -
in-lite | HALO UP-DOWN Dark | Wall lights
Regular price €224,14Regular price -
in-lite | LIV WALL Dark | Wall lights
Regular price €129,91Regular price -
in-lite | LIV WALL Rose Silver | Wall lights
Regular price €129,91Regular price -
in-lite | LIV WALL White | Wall lights
Regular price €129,91Regular price -
in-lite | MINI SWAY WALL Black | Wall lights
Regular price €123,97Regular price -
in-lite | MINI SWAY WALL Pearl Grey | Wall lights
Regular price €123,97Regular price -
in-lite | MINI WEDGE Dark | Wall lights
Regular price €72,40Regular price -
in-lite | SWAY WALL Black | Wall lights
Regular price €133,88Regular price -
in-lite | SWAY WALL Pearl Grey | Wall lights
Regular price €133,88Regular price -
in-lite | WEDGE Dark | Wall lights
Regular price €98,18Regular price -
in-lite | WEDGE Rose Silver | Wall lights
Regular price €98,18Regular price -
in-lite | WEDGE SLIM Dark | Wall lights
Regular price €106,12Regular price -
in-lite | WEDGE White | Wall lights
Regular price €98,18Regular price


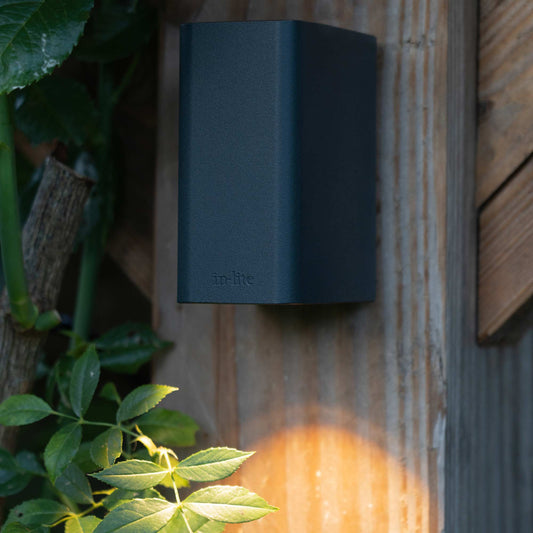


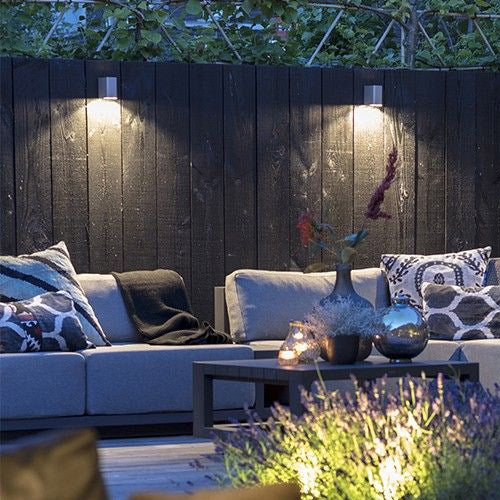





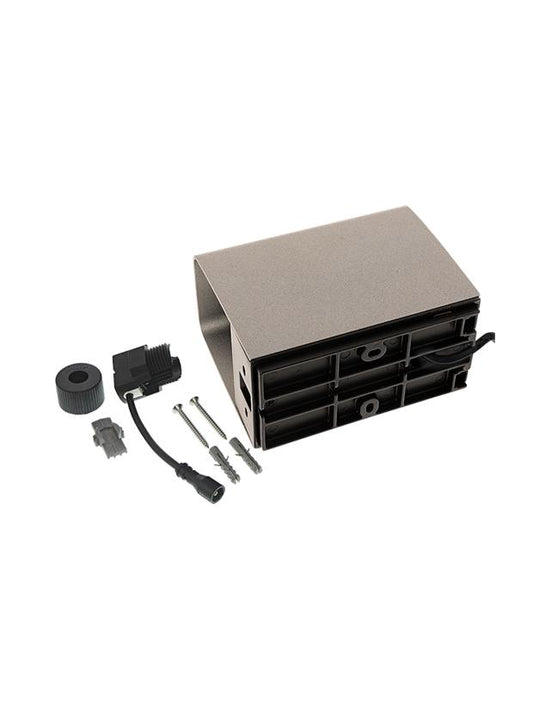

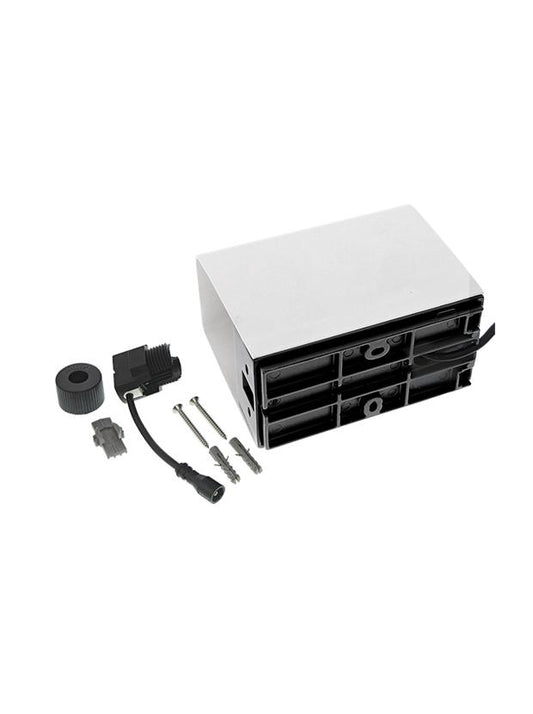

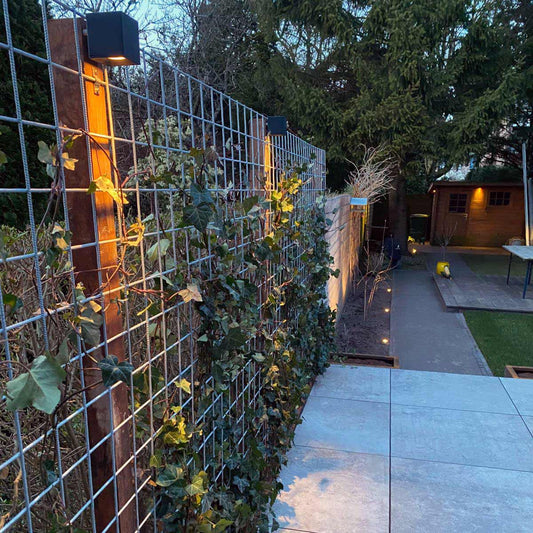

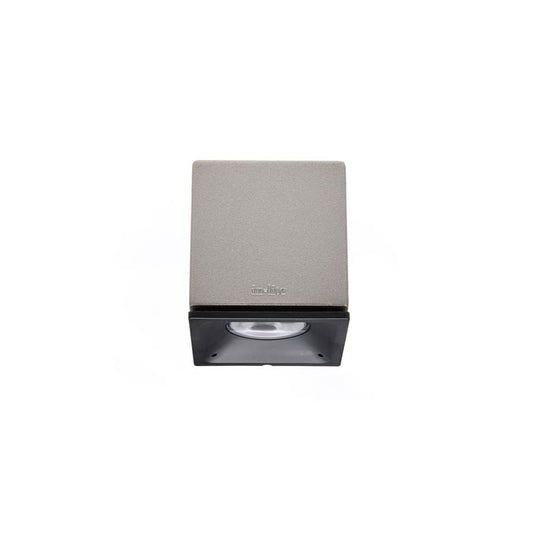

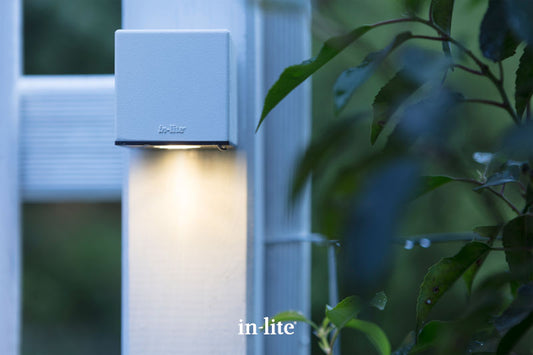

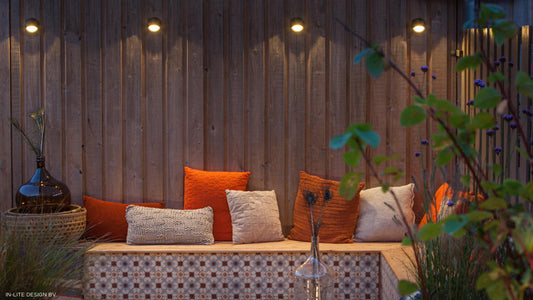

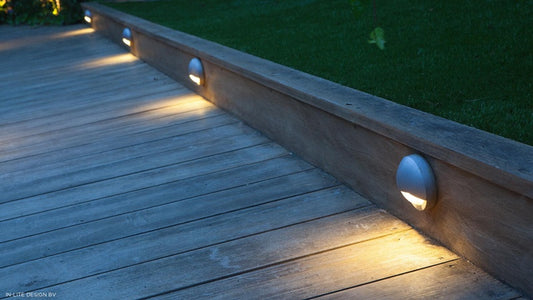

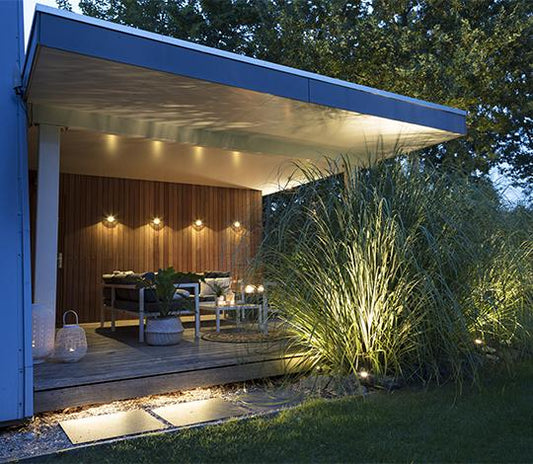

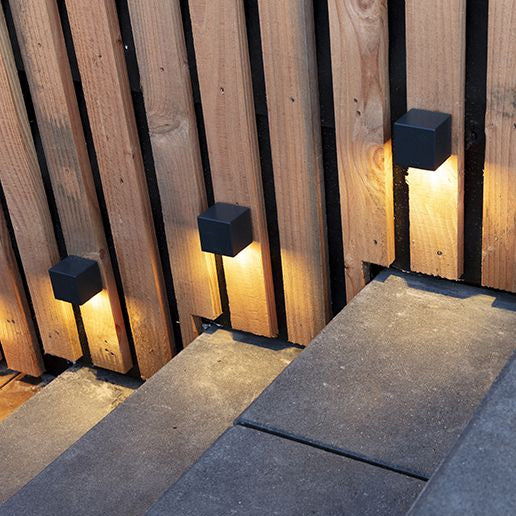




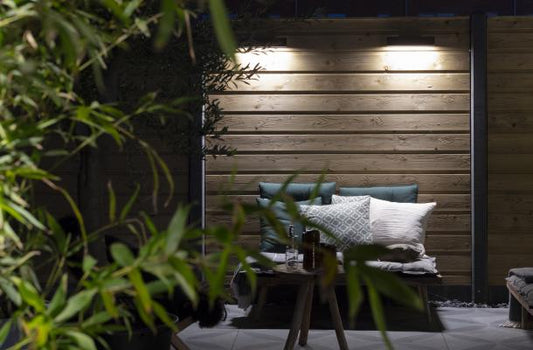

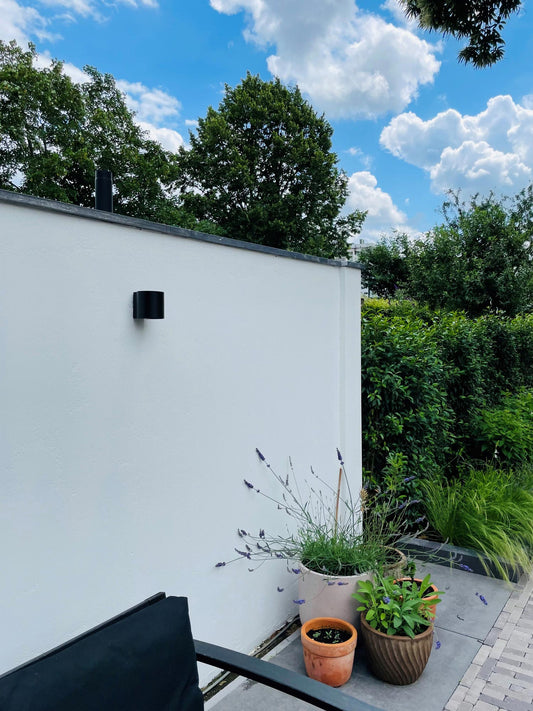

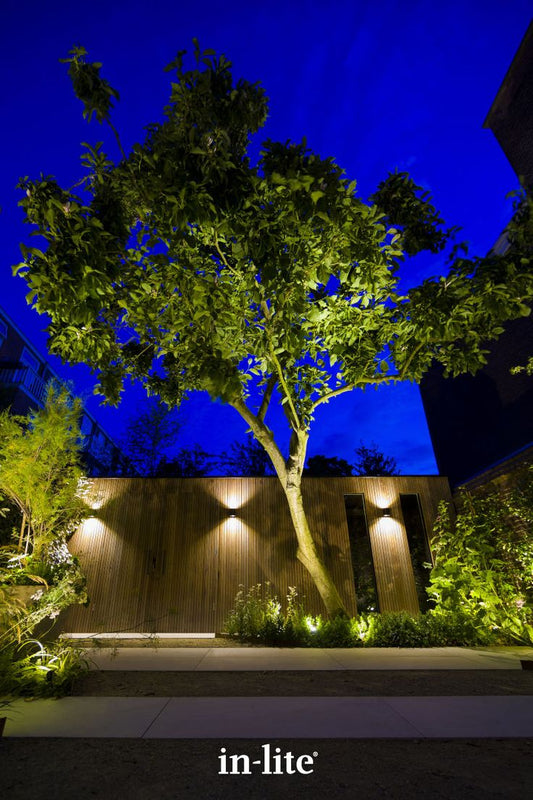

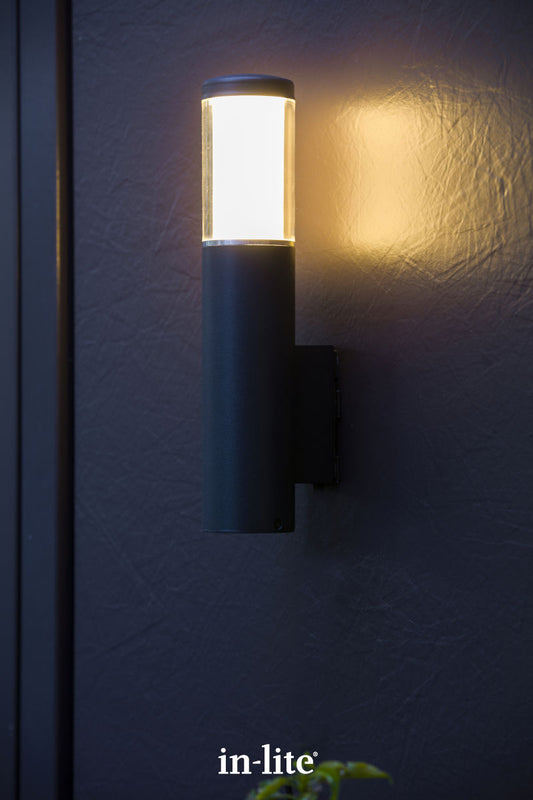

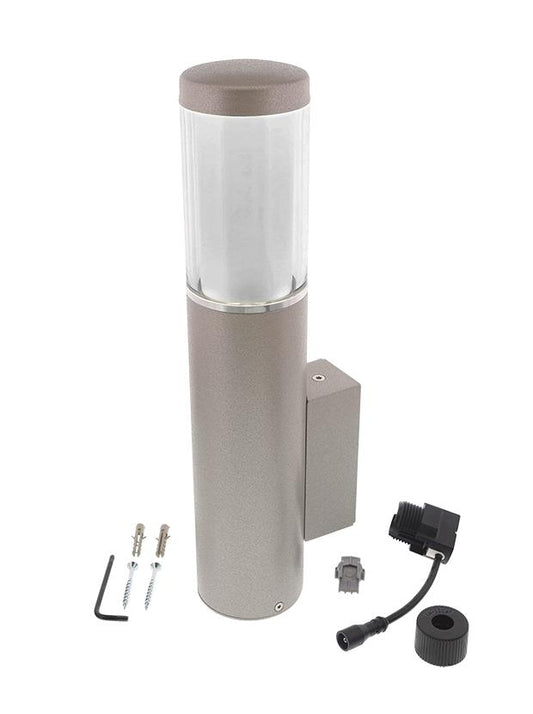

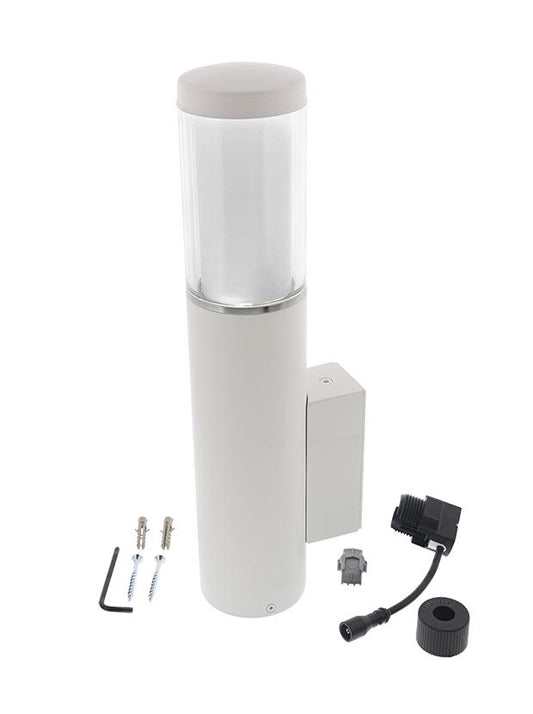

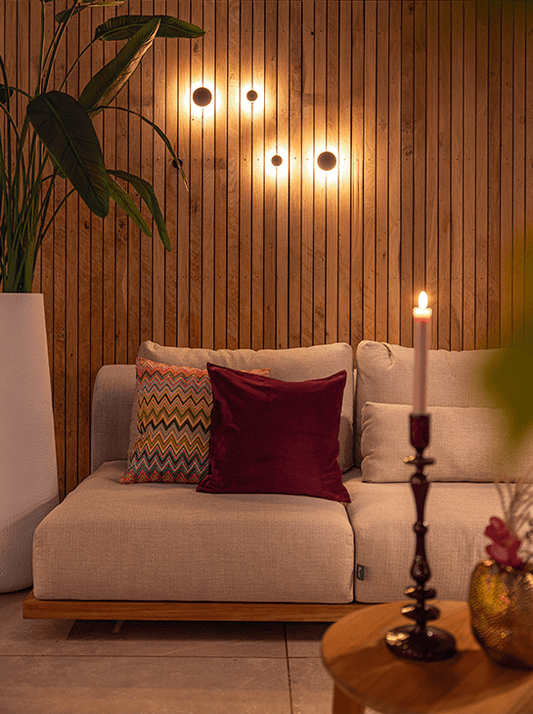


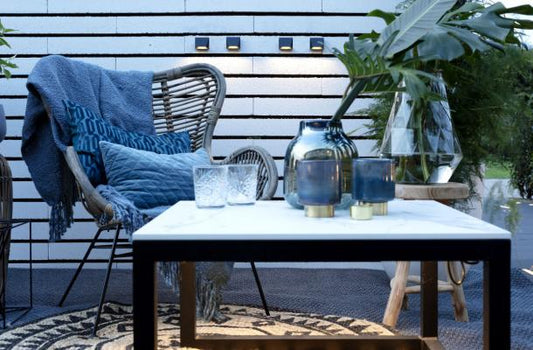

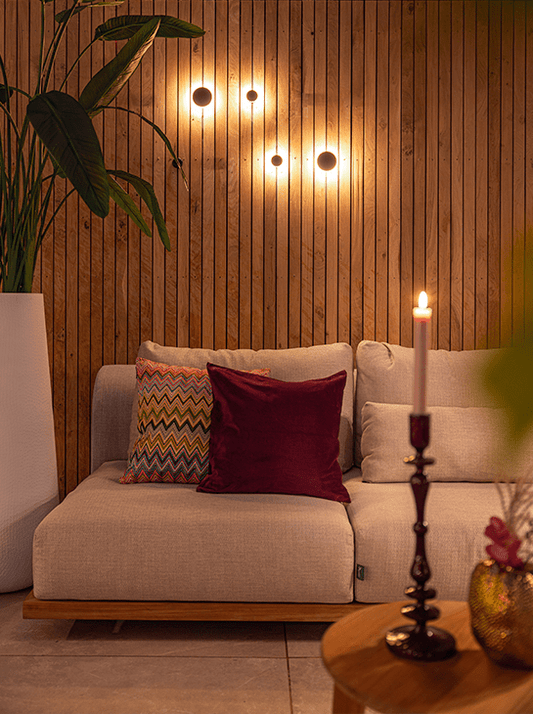


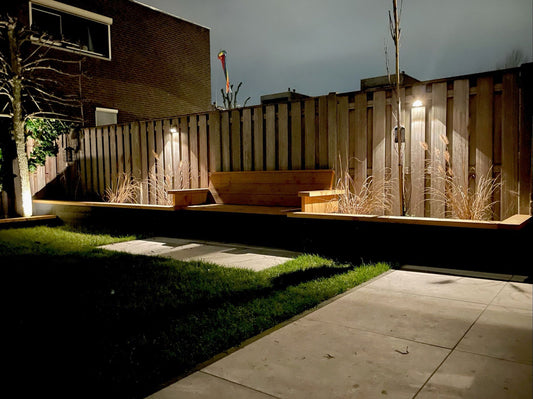

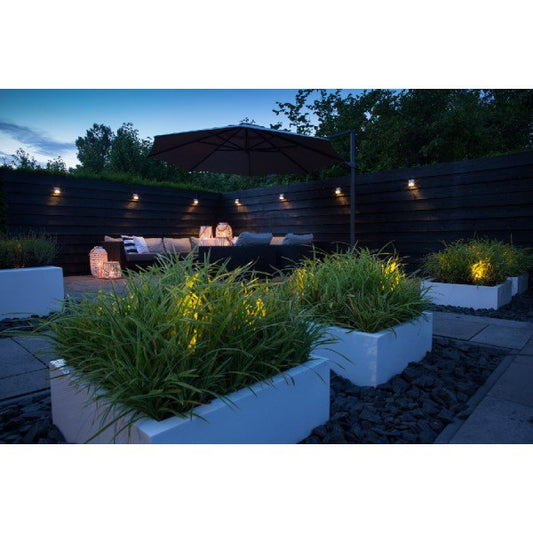

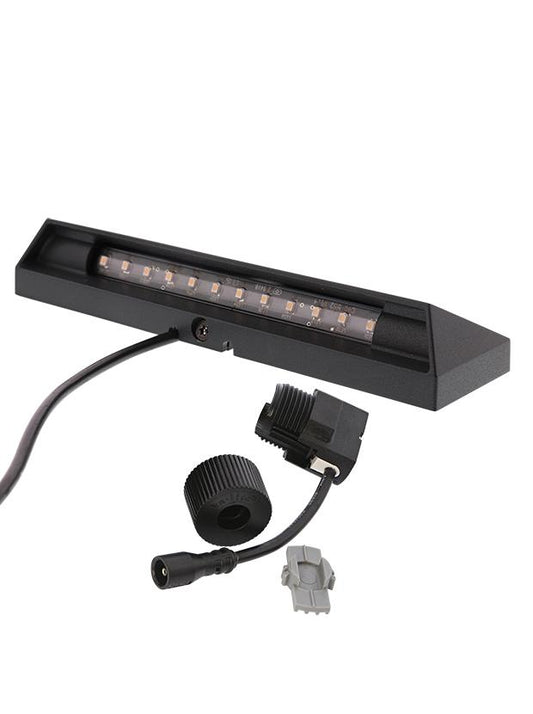

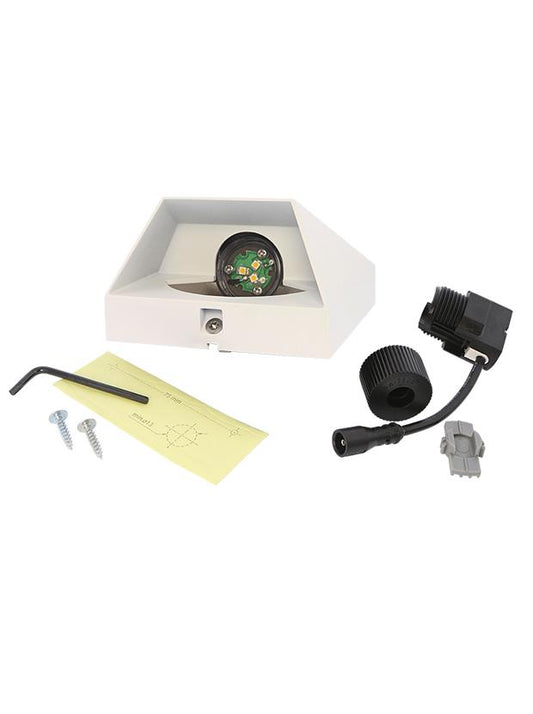
Which fence lighting is best for your garden?
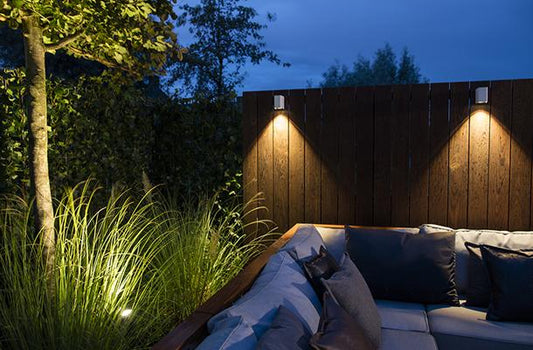
A fence can do more than provide a mounting surface for outdoor lights. Its posts, panels, and changes in direction can be used to establish a visual rhythm that follows the layout of the garden. Rather than automatically spacing fixtures at equal intervals, align them with structural elements or important areas alongside the fence.
| Situation alongside the fence | Lighting approach | Effect | in-lite examples |
|---|---|---|---|
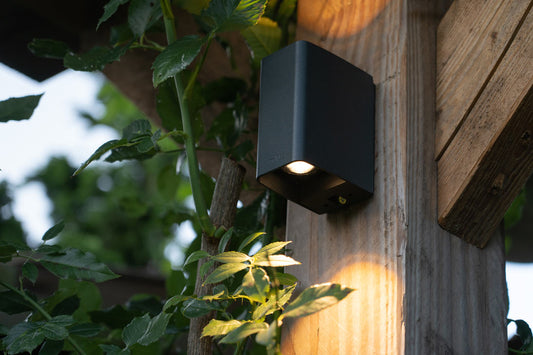
| Path or walking area | Focused in-lite downlight | Directs light towards the ground while keeping the fixture off the path itself | WEDGE ACE DOWN HALO DOWN |
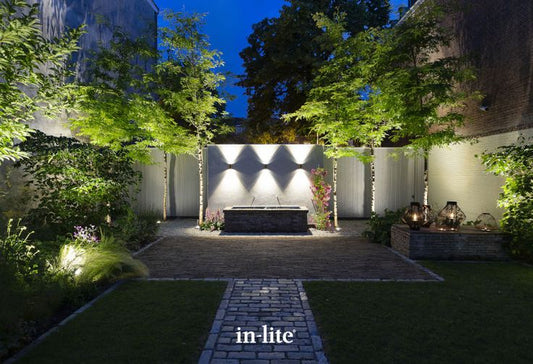
| Repeated fence panels or posts | in-lite up-down wall light | Creates a defined vertical pattern that follows the structure of the fence | ACE UP-DOWN HALO UP-DOWN |
| Limited mounting space | Compact in-lite wall light | Introduces light without making the fixture visually dominant | CUBID BLINK |
| Terrace or seating area | Softer decorative in-lite wall light | Makes the fence a calmer illuminated background behind the seating area | DISC WALL LIV WALL SWAY WALL |
| Long modern fence | Architectural in-lite wall light | Uses the fixture itself as part of the visual rhythm and design | EVO DOWN BIG CUBID |
Which light effect works best on a fence?
The right light effect depends on how prominent you want the fence to appear after dark. Downlighting keeps the effect concentrated below the fixture, making it useful where the fence borders a path or terrace. Up-down lighting creates a stronger architectural pattern and draws more attention to the surface itself.
For a softer result, choose a fixture that produces a more diffused or decorative glow. This works particularly well around seating areas, where the fence should provide a comfortable illuminated backdrop rather than become the main focal point. On long fences, varying the light effect between functional and decorative zones can also prevent the lighting from becoming overly repetitive.
Where and how should you position lights on a fence?
For general fence and wall lighting, spacing fixtures around 1,5 to 2 metres apart is a useful starting point. The ideal distance depends on the fixture's light distribution and the desired effect. Wider spacing creates more distinct pools of light, while closer spacing produces a more continuous lighting effect.
On top of that, a mounting height of around 1,5 to 1,8 metres above ground level is recommended. Low-level wall lights used beside paths, steps, or for orientation lighting can be installed much lower, typically around 30 to 45 cm above the ground. Always consider the direction of the light and potential glare, especially when the fence is close to a terrace or seating area.
How do you combine fence lighting with plants?
Plants in front of a fence can make the lighting effect more layered. Light falling behind or through ornamental grasses, shrubs, and climbing plants creates silhouettes and shadows, while the illuminated fence provides a visible background that separates the planting from the darkness.
Avoid positioning every fixture where mature foliage will completely block the light. Instead, use openings between plants and consider how the planting changes throughout the seasons. This allows the fence and planting to work together visually without requiring additional light on every individual plant.
Should you choose 12V or 230V fence lighting?
Both 12V and 230V wall lights can be suitable for fence lighting, but the best choice depends on the existing electrical installation and how the fence lighting connects to the rest of the garden. A 12V in-lite system is the most optimal choice when the wall lights form part of a wider garden lighting plan, allowing them to be combined with other 12V fixtures on the same low-voltage system.
230V wall lights are useful when a suitable mains connection is already available or when the fence lighting needs to operate independently from the 12V garden lighting system. Many in-lite wall lights include various 230V options, giving you more flexibility when planning lighting around fences, walls, and outdoor structures.
Benefits of good fence lighting
-
Makes a boundary part of the design
Instead of disappearing into darkness, an illuminated fence gives the garden a defined visual edge and helps retain its shape after sunset. -
Uses vertical space without taking up valuable ground area
Wall lighting leaves paths, borders, and terraces free from additional fixtures, which is useful in smaller gardens. -
Adds character to otherwise plain fence surfaces
Light and shadow can break up long wooden, composite, or masonry boundaries and make their structure more visually interesting. -
Consistent colours throughout various designs
in-lite wall lights are available in various colours and finishes that recur across the wider in-lite collection, making it easy to coordinate fence lighting with other fixtures throughout the garden.
Buy in-lite fence lighting at Gardenlightsstore.com
Explore in-lite fence lighting at Gardenlightsstore.com, with wall lights in various colours, designs, and all kinds of light effects for your fence or garden wall. With over 20 years of experience with in-lite, our lighting specialists can help you choose the right fixture and positioning for your garden.
Orders over €100 qualify for free shipping across the EU, and all products come with a 5-year warranty.
Frequently asked questions
How far apart should in-lite wall lights be?
For general wall and fence lighting, spacing wall lights around 1,5 to 2 metres apart is a useful starting point. The ideal distance depends on the fixture's light distribution, mounting height, and the effect you want to create. Wider spacing creates more distinct pools of light, while closer spacing produces a more continuous lighting effect.
At what height should in-lite wall lights be installed?
For general wall and ambient lighting, a mounting height of around 1,5 to 1,8 metres above ground level is a useful starting point. Low-level wall lights used for paths, steps, or orientation lighting can be positioned much lower, typically around 30 to 45 cm above the ground. Always consider the fixture's light distribution and potential glare when choosing the final mounting height.
Should outdoor wall lights shine up, down or both?
Choose downward lighting when you primarily want practical illumination below the fixture, for example; around pathways, entrances, or terraces. Directing the light downwards helps illuminate the area where people walk while keeping the lighting effect relatively subtle. Choose an up-down wall light when you also want to emphasise the architecture of a wall or façade. The downward beam provides useful illumination below the fixture, while the upward beam adds height and creates a more pronounced architectural effect.
Should garden lighting be symmetrical?
Not necessarily. Asymmetrical lighting often creates a more natural and layered effect, particularly around planting, trees, and informal garden paths. Symmetrical lighting can work well around formal entrances, façades, or straight paths where a balanced appearance suits the architecture and garden design.
How do you choose the right outdoor light for each part of the garden?
Choose the fixture according to the application and desired light effect. Spotlights work well for directional accent lighting, recessed lights provide discreet illumination, and bollards add light around paths and planting. Wall, pendant, or ceiling lights can provide ambient and functional light around buildings and seating areas.
Can I install in-lite garden lighting myself?
Yes. The in-lite 12V system is designed for easy installation without any specialist knowledge. Using Easy-Lock connectors, most homeowners can install or expand their lighting system themselves. Always follow the installation instructions and ensure the transformer is installed in a dry, well-ventilated location.
Can I connect multiple in-lite fixtures to one ground cable?
Yes. Multiple in-lite fixtures can be connected to the same 12V ground cable. Each fixture is connected at the required position along the cable using an Easy-Lock connector. The total capacity of your lighting system (VA) must remain within the capacity of the in-lite transformer.
How do I calculate the VA required for my in-lite transformer?
Add together the VA values of all in-lite fixtures you plan to connect. The combined VA must remain below the maximum capacity of the transformer. For example, a HUB 75 or SMART HUB 75 supports up to 75 VA, while a SMART HUB 150 supports up to 150 VA. We recommend allowing spare capacity if you plan to expand your lighting later.